Installing a front dash camera in your vehicle is a smart move for added safety, accountability, and peace of mind. Whether you’re using a traditional wired model or a wireless front parking camera, the process is simple and doable—even for beginners.
This guide will walk you through how to properly install a single front camera for your car, from mounting and wiring to testing and tips to avoid common mistakes.
What Is a Front Dash Camera?
A single front dash cam is a compact video recording device mounted inside your car’s front windshield. It captures footage of the road ahead and typically starts recording when the engine is turned on.
Most models are powered either via the cigarette lighter socket or hardwired to the car’s fuse box. Higher-end versions may also include Wi-Fi, app support, and parking mode.

What You’ll Need
-
Front dash camera unit
-
Power cable (USB or 12V)
-
Hardwire kit (for fuse box installation)
-
Trim removal tool
-
Zip ties or adhesive cable clips
-
MicroSD card (high-endurance recommended)
-
Alcohol wipes (for windshield prep)
Installation Steps
1. Select the Mounting Position
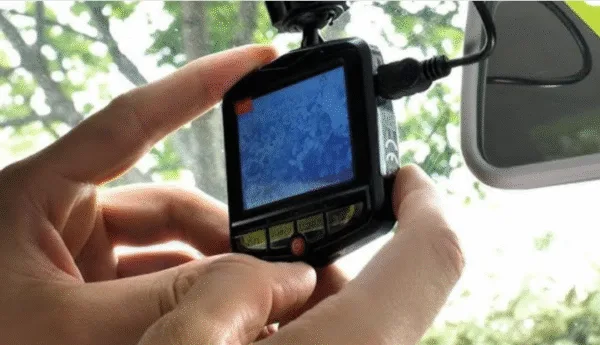
Place the camera behind the rearview mirror to ensure a clear road view without blocking your sight. Temporarily power it on to adjust the angle before mounting.
2. Clean the Windshield
Use alcohol wipes to clean the glass where the camera will mount. A clean surface ensures better adhesion and long-term stability.
3. Mount the Camera
Peel the backing from the adhesive mount and press the camera firmly onto the glass. Hold for a few seconds to ensure it sticks well.
4. Connect the Power
-
Option A: Cigarette lighter plug — Quick and easy.
-
Option B: Hardwire kit — Cleaner installation, essential for using parking mode.
5. Hide the Cables
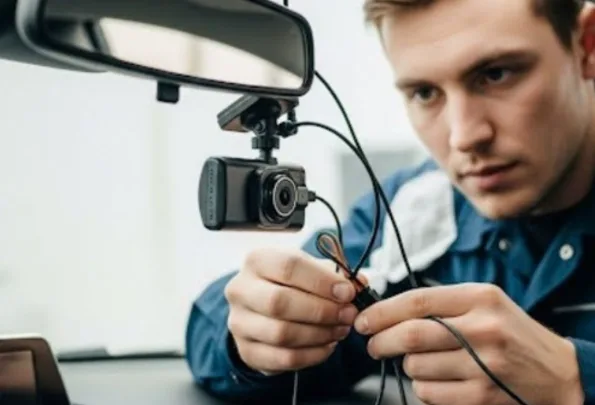
Use the trim removal tool to tuck wires behind the headliner, along the A-pillar, and around the dash. Secure with zip ties or clips. Be careful not to interfere with curtain airbags.
6. Start the Car and Test
Turn on your engine. The camera should power up automatically. Check the video angle and recording status. If Wi-Fi enabled, connect via the app to verify settings.

Quick Tips for a Cleaner Install
-
Test camera angle before final mounting
-
Avoid routing cables near airbags
-
Use a high-quality SD card to avoid data loss
-
Label extra cables or accessories for easy management
-
Hardwire the camera if your model supports parking mode
Mistakes to Avoid
-
Mounting without checking the angle
-
Skipping windshield cleaning
-
Leaving wires exposed or messy
-
Using low-grade memory cards
-
Ignoring manufacturer instructions for hardwiring
Final Thoughts
Installing a single front dash cam is easier than it looks. With the right tools and a bit of patience, you can achieve a clean, professional-looking setup. Whether you opt for a simple plug-and-play model or a hardwired version with advanced features, following these steps will ensure your camera performs reliably on the road.


